Let’s Get Cooking with a Camp Kitchen!
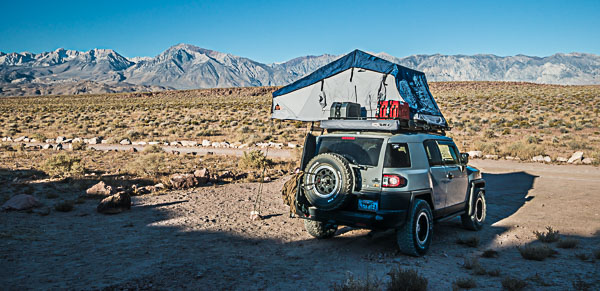
Now that the roof top tent is installed, next up in CrtrGrl and my FJ Cruiser overland build-out is a custom camp kitchen. Our goal is to make camping and exploration easier and more comfortable, by spending less time setting up camp and having more time for nature and photography. We want to make sure we have a quick and easy to use camp kitchen.
Our Choices
- Camp Kitchen
- Cabinet – Custom built by us using 1/4″ and 3/4″ bamboo plywood from Cali Bamboo
- 50 qt Fridge from ARB
- 2 x Burner Propane Stove
- Heavy Duty Locking Sliders for the fridge tray, stove tray and prep surface
- Self Closing Sliders for the two drawers
Build Video
Check out the really cool video that CrtrGrl made for Part 4 – Camp Kitchen:
Systems Engineering / Requirements Analysis
As a quick reminder, here’s the list of features we wanted for our build out. The camp kitchen and accessories meets the following requirements (in blue italic):
- Easy to setup and take down
- Protection from the sun, wind and rain
- A camp kitchen
- Plenty of extra gas
- Plenty of extra water
- A comfy bed
- Modular
- Shower setup
- Storage
- Off-grid power
- Socially/eco-responsible products
- Durable
- Hot Tub*
- Butler*
*Hmm, maybe we’re asking for too much.
Design
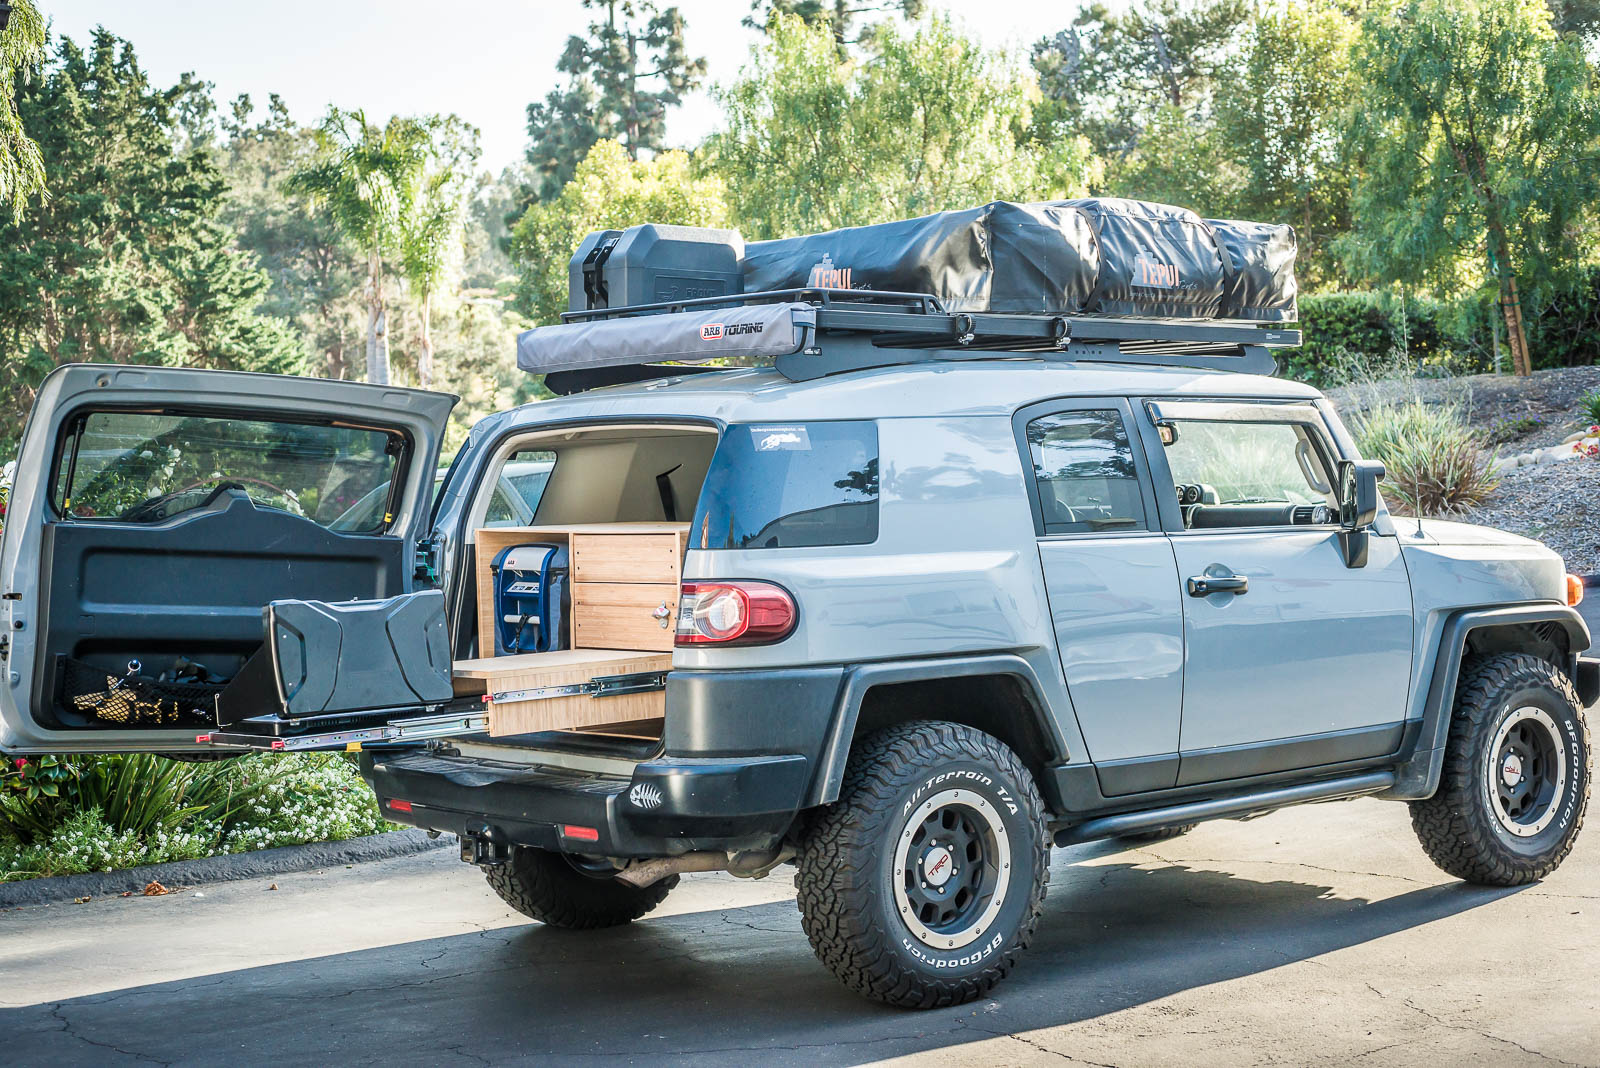
For our camp kitchen, we wanted a way to prep and cook out of the back of the FJ without having to unload or set up tables. We were inspired by Overland Life’s DIY drawer system and decided to build our own. A fridge, stove and prep area are the heart of the kitchen, so we focused on those. Click on the photos below to see larger versions with captions or mouse over them.

We wanted to build it using sustainable material, so first we looked into reclaimed wood. Unfortunately, there wasn’t really a good option, like left-over plywood. So instead, we opted for new bamboo plywood. It’s pricier than regular plywood, but also stronger and sustainably harvested. We ordered two 4’x8′ sheets – 1/4″ for the cabinet top, bottom and drawer bottoms and 3/4″ for the vertical pieces. Cali Bamboo delivered them.
Our requirements included using the AC plug to charge the fridge while driving and full use of the back seats, up or down. We wanted the back window clear when we’re not fully loaded and planned to use the top of the cabinet for storage when loaded. We took careful measurements of the back of the FJ, noting the minimum widths. Some of the gotchas to be aware of are the sloped back seat, the slant and bulge on the inside of the back door and the four cargo area tie down points. I’ll just say that we probably didn’t leave enough margin in those measurements. At the end, it just barely fit.


Family Project
My dad came to the rescue once again helping CrtrGrl and I build the cabinetry. He has all of the tools required and has experience with wood-working. We spent four days working on it with him and it was great father-son time. The whole family got involved and helped at different points.
The metal trays for the fridge and stove were welded by my brother-in-law, Jason, after purchasing raw metal sheets. One thing we would change about our cabinet is to go with thinner metal sheets for the trays. The 3/16″ metal we have is way overbuilt for holding a fridge and stove and adds a lot of weight. We cut out some of the unneeded metal, but it’s still built for a tank.


Putting It Together
My dad came up with a cut sheet that maximized the use of the 4’x8′ sheets to ensure we had enough wood. The plan was to build all of the vertical components with the trays and sliders and then cut and install the top and bottom last, after we had the exact measurements.
First, we cut the large vertical pieces. Next, we attached the sliders and metal trays to those pieces, which formalized the exact width of the cabinet. We then took measurements and cut the pieces for the drawers, cabinet top and bottom. Once the drawers were attached, top and bottom (‘glued and screwed’, as my dad put it), we added movable partitions to the two drawers.
We tried to lighten the cabinet a little by drilling out circular holes in one side, but the payoff for the effort wasn’t worth it, so we stopped at 4 holes. When it was all put together, lifting and installing the finished cabinet was a team effort, requiring all of us.
Appliances
A 50 quart fridge holds a surprising amount of food and is more than enough to last a week or more in the wilderness. The ARB 50 qt fridge can run off either DC or AC power. We purchased heavy duty locking sliders that are rated at 450 lb each to hold both the fridge and stove trays. They’re more than strong enough to hold a fully loaded fridge and lock in and out, which is great when you’re parked on a slope.
Our stove fits in the second slider tray, under the cutting board. We have a 2-burner propane stove. When it’s time to use it, we just slide out the cutting board, then pull out the stove beyond that. We store the propane bottles in one of the drawers and have a long hose to attach to the stove. Under the stove tray, we have room for a folding table that we use as extra food prep space and as a table to eat at.
What’s Next?
Up next, we’ll add some accessories to our FJ Cruiser before taking it out on it’s first test run.