A Place to Rest Our Heads
Now that the roof rack is installed, next up in CrtrGrl and my FJ Cruiser overland build-out is installing a roof top tent. Our goal is to make camping and exploration easier and more comfortable, by spending less time setting up camp and having more time for nature and photography. Finding a flat spot, setting up and taking down a tent, inflating sleeping pads, un-stuffing sleeping bags and then stuffing them back into stuff sacks. That’s not in our future, unless we’re backpacking.


Picking a Tent
Why did we buy a roof top tent? What features were we looking for? Let’s get into the details.
We want to be able to off-road, so a normal travel-trailer wouldn’t meet our needs. An expedition trailer with a tent would meet our needs, but would make driving a bit more complex by adding a third axle. Keeping it all together on our FJ, named Greyjoy, seemed like the most flexible option that would make driving easier.
Size – we wanted at least a 3 person tent so we’d have a little bit of extra room. Or in real world tent sizing, so we wouldn’t be bumping shoulders all night long.
Weather – 4 season – since we wanted to be able to use it year round, where ever we travel. It needed to be able to hand strong wind, rain and even snow.
Our Bed is Already Made – We wanted to be able to leave our mattress, sleeping bag(s) and pillows in the tent, so they wouldn’t take up space inside the FJ while traveling. Quick setup and take down time was a plus.
Extra Space – We wanted an annex below the roof top tent in order to have some extra sheltered space, where we could get into the FJ during rough weather. We also wanted the possibility of using the annex for a privy.
A hard top tent would very likely improve aerodynamics and gas mileage while driving, but the cost put them out of our budget.
Our Choice
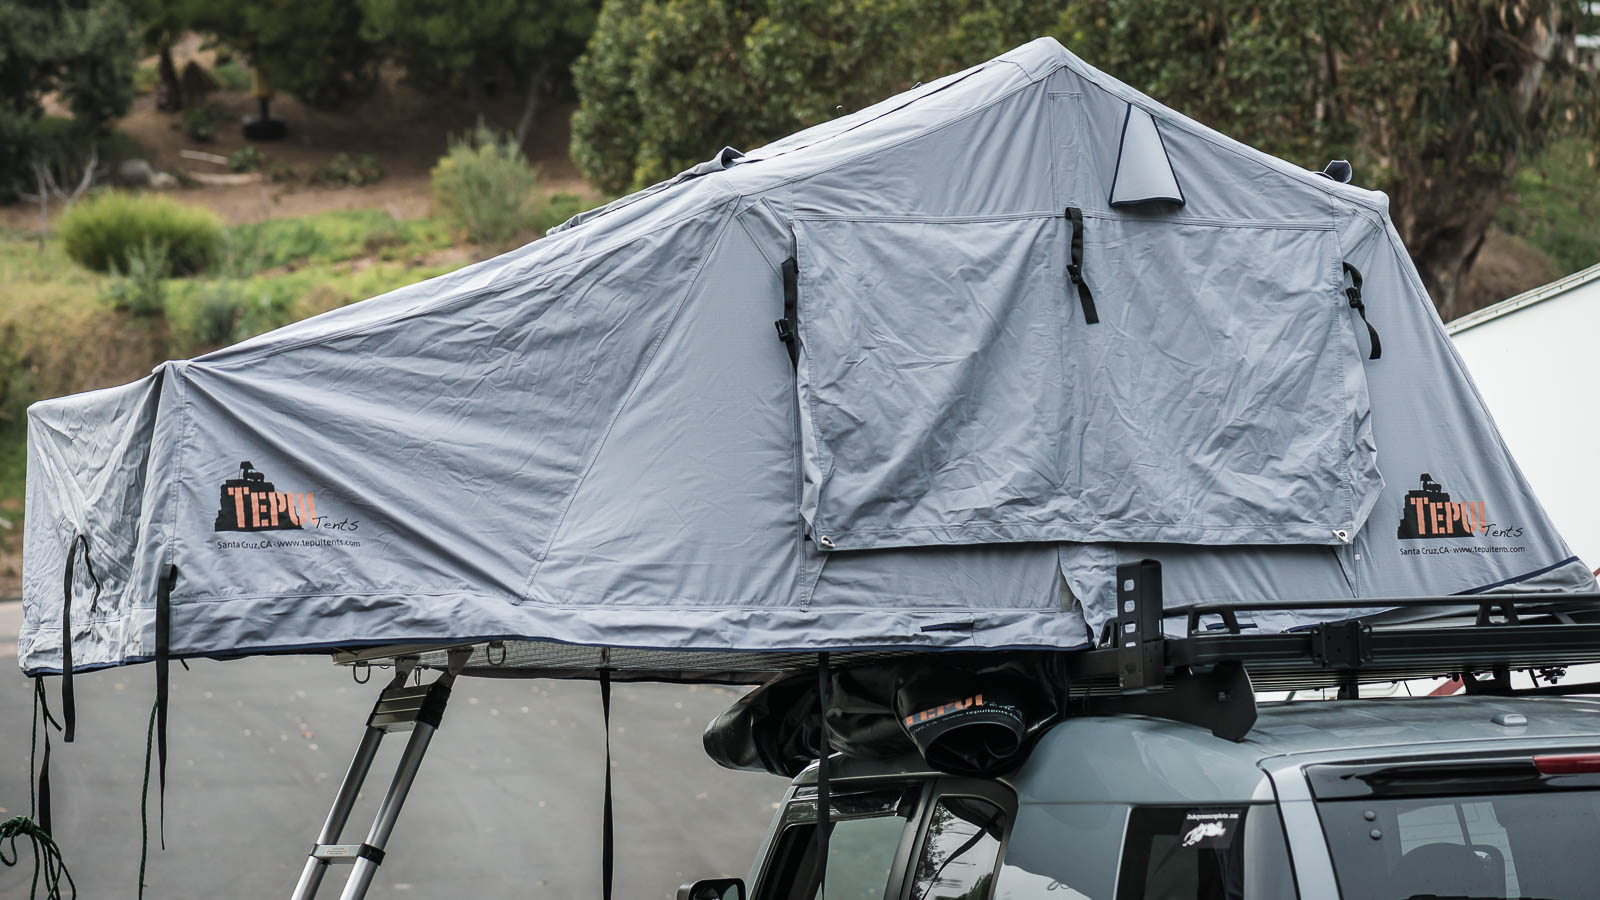
Our choice came down to the ARB Series III and the Tepui Autana Ruggedized SKY – now called the Tepui Ruggedized Series Autana 3. Both offer an annex and have a similar design. Both have an overhead cover to protect you from rain while climbing the ladder into the tent. The Tepui is ruggedized, so the material is thicker, more insulating and hopefully longer lasting. A consequence of the thicker materials is that the Tepui weighs a bit more – 195 lbs vs 154 lbs for the ARB. And the final consideration was color. We’re not usually that big on vanity styling, but the Tepui roof top tent comes in a ‘Haze Gray’ color that goes really well with our 2013 Trail Teams FJ Cruiser. We decided to get the Tepui, even though it’s a bit more expensive than the ARB.
Tepui is making the effort to minimize their environmental impact. This impressive small company has a new Upcycle program, where they make ‘new’ backpacks or duffel bags from re-purposed tent covers. In addition, REI inspects Tepui’s manufacturing to ensure it meets their standards. Tepui is also working to offset carbon for Tepuifest 2018 by planting trees in State Parks.
Timing was fortunate, since we were ready to buy when Tepui and Front Runner had their Black Friday sales. We were able to get 15% off the roof top tent and 10% off the roof rack. Tepui does offer a standard 10% off combo when you buy them together, so the sale just saved us 5% extra on the tent. We had it shipped directly to my parent’s house, since they’d be helping us install it.
Systems Engineering / Requirements Analysis
- Easy to setup and take down
- Protection from the sun, wind and rain
- A camp kitchen
- Plenty of extra gas
- Plenty of extra water
- A comfy bed
- Modular
- Shower setup
- Storage
- Off-grid power
- Socially/eco responsible products
- Durable
- Hot Tub*
- Butler*
Check out the really cool video that CrtrGrl made for Part 3 – the Roof Top Tent Install:
Unboxing
What came with the tent? The tent comes boxed up and zipped up, with all accessories folded neatly inside the tent.
- Roof Top Tent
- Annex & Annex floor
- Rain fly
- Roof Top Tent cover
- Extendable ladder
- 2.5″ thick mattress
- Bendy poles for window covers
Orientation
First, we took the Tepui roof top tent out of the box and opened it up on the ground. We removed all of the accessories listed above. My dad and I then figured out how the rails needed to attached to the bottom of the tent in order to mount to the Front Runner roof rack in the orientation we wanted. The options are:
- Open out over the driver side door.
- Covering the passenger side door (which in hindsight would have been better, for reasons I’ll get into below).
- Flipping open to the rear, over the tail of the FJ.

Scott and his dad attach the ladder to the roof top tent
In hindsight, we should have gone with Option 2. With the tent over the passenger side, we could park the FJ such that the wind hits the driver side. The tent annex would be protected by the FJ and the trunk area would be protected by the rear door. Another very minor annoyance with Option 1 is that you have to walk around the rear door when it’s open to get to the trunk.
Prepping the Roof Top Tent
After mounting the rails on the bottom of the roof top tent, we attached the telescoping ladder. It took a little bit of elbow grease to get it to fit between the mount brackets, but other than that it was pretty easy.
With the roof top tent, we also ordered the security nut system by Tepui and the medium mount kit by Front Runner. We opted for the medium tent mount kit instead of the tall one in order to keep the tent lower to the roof, even though the Front Runner rep recommended the tall ones. The shorter mounts made bolting it down more challenging. We weren’t able to use the security nut system, as there wasn’t sufficient room to install it.
Getting the Tent On the Roof
Getting the roof top tent up onto the roof was a challenge. At ~195 pounds, it was too heavy and awkward for two people to lift. Step 1 was to get the tent into the back of my dad’s truck. Four of us had an easy time lifting it. That got it up to waist height. Next, we thought we’d use two ramps that my parents use to drive their ATV into the back of their truck. Watch the YouTube video above to see how that went.
Plan B for getting the tent up on the roof of our FJ Cruiser was to park my dad’s truck close to it and do a team lift. I climbed up onto the roof of the FJ, while the rest of the family was in the back of the pickup. My son, Christian, joined us for the lift. Five was probably overkill, but it sure made it easier! With five of us, we were easily able to lift the root top tent and slide it onto the roof of the FJ. I helped guide it onto the roof rack, where the medium tent mounts were loosely attached.

Checking the bolts in the space between the roof rack and the roof of our FJ. Photo by CrtrGrl.


Trying Out the Roof Top Tent
Once we had the roof top tent secured, we opened it up. There’s definitely a small learning curve to opening it up and we’ve gotten better at it since. Step 1 is to undo the pair of cover straps. Step 2, we unzipped the cover. I attached a Front Runner Stratchit to the zipper so we could reach it all the way around the vehicle. That has continued to be helpful the more we’ve used it. For Step 3, I climbed up on the roof, pulled the cover off and undid the four Velcro straps, two in the front and two towards the back. Then I unstrapped the ladder and extended it.
From there, I climbed down off the roof and used the ladder to flip the folded tent open. While flipping the tent open, make sure there is no fabric in the joint that forms the tent floor. The floor should be a flat line, from the half that’s attached to the roof to the half that’s hanging out in mid-air. Finally, adjusting the telescoping ladder to just the right height is a challenge. I’m still not sure if there’s a trick to it, so I usually resort to trial and error. Because the ladder provides support for half of the tent, you’ll want to make sure it’s adjusted so that the tent bottom rests firmly on the ladder, with no bouncing up and down. Also, the angle of the ladder affects how easy it is to climb up, and more importantly, down. The very first time climbing in, CrtrGrl and I were a little nervous putting our weight on the half of the tent hanging off the roof, but it’s really quite secure.
It was towards the end of the day, so all that we did was climb up into the tent to see what it felt like up on the roof. We didn’t try out the windows, rain cover or annex, we’ll save those for next time.


What’s Next?
In Part 4, we’ll build a custom camp kitchen into the back of our FJ Cruiser.


