Time to Finish the Roof Rack Install!
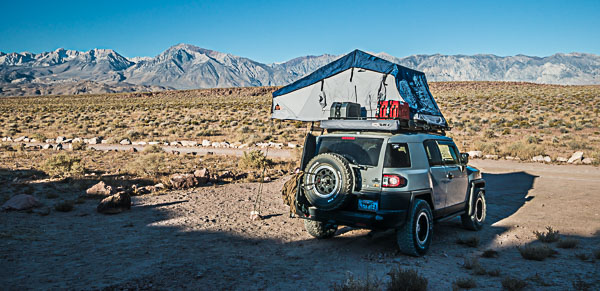
CrtrGrl and I have enjoyed tent camping and backpacking and we want to spend more time outdoors than we currently do. We want to make camping and exploration easier and more comfortable, by spending less time setting up camp and having more time for nature and photography. A base-camp, from which we can do day hikes or backpacking, would provide comfort and ease-of-use. It has to be something we can live in for weeks at a time and that supports our lifestyle.
In FJ Cruiser Overland Build Part 1, I shared what CrtrGrl and I were looking for in transforming our FJ Cruiser into an overland vehicle. We figured out a set of desirements that our upgrade should provide. We removed the stock roof rack, installed the side rails of our new roof rack and prepped the rack itself. In this part, we finish the roof rack install and bolt on a couple of accessory mounts.
Systems Engineering / Requirements Analysis
- Easy to setup and take down
- Protection from the sun, wind and rain
- A camp kitchen
- Plenty of extra gas
- Plenty of extra water
- A comfy bed
- Modular
- Shower setup
- Storage
- Off-grid power
- Socially/eco responsible products
- Durable
- Hot Tub*
- Butler*
Check out the really cool video that CrtrGrl made for Part 2:
No more junk in the trunk!
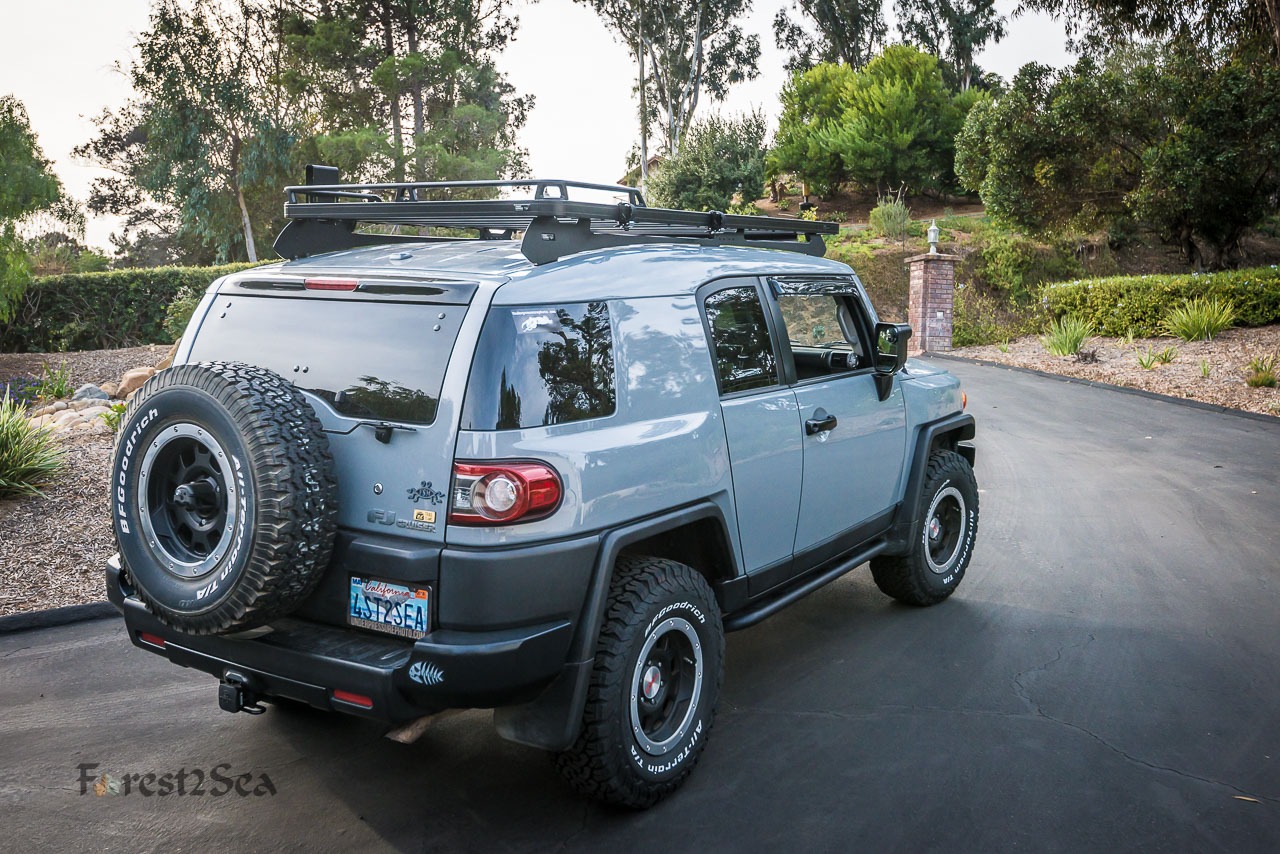
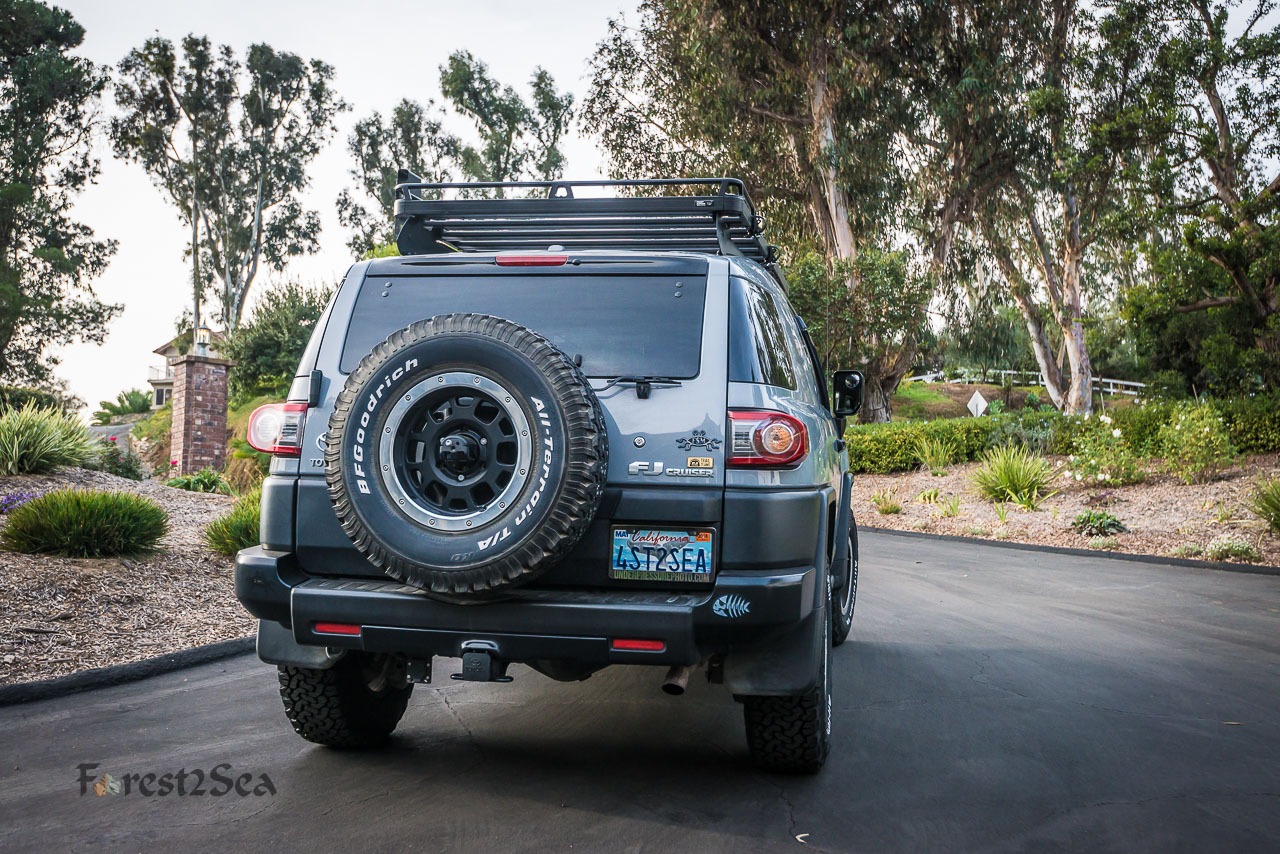
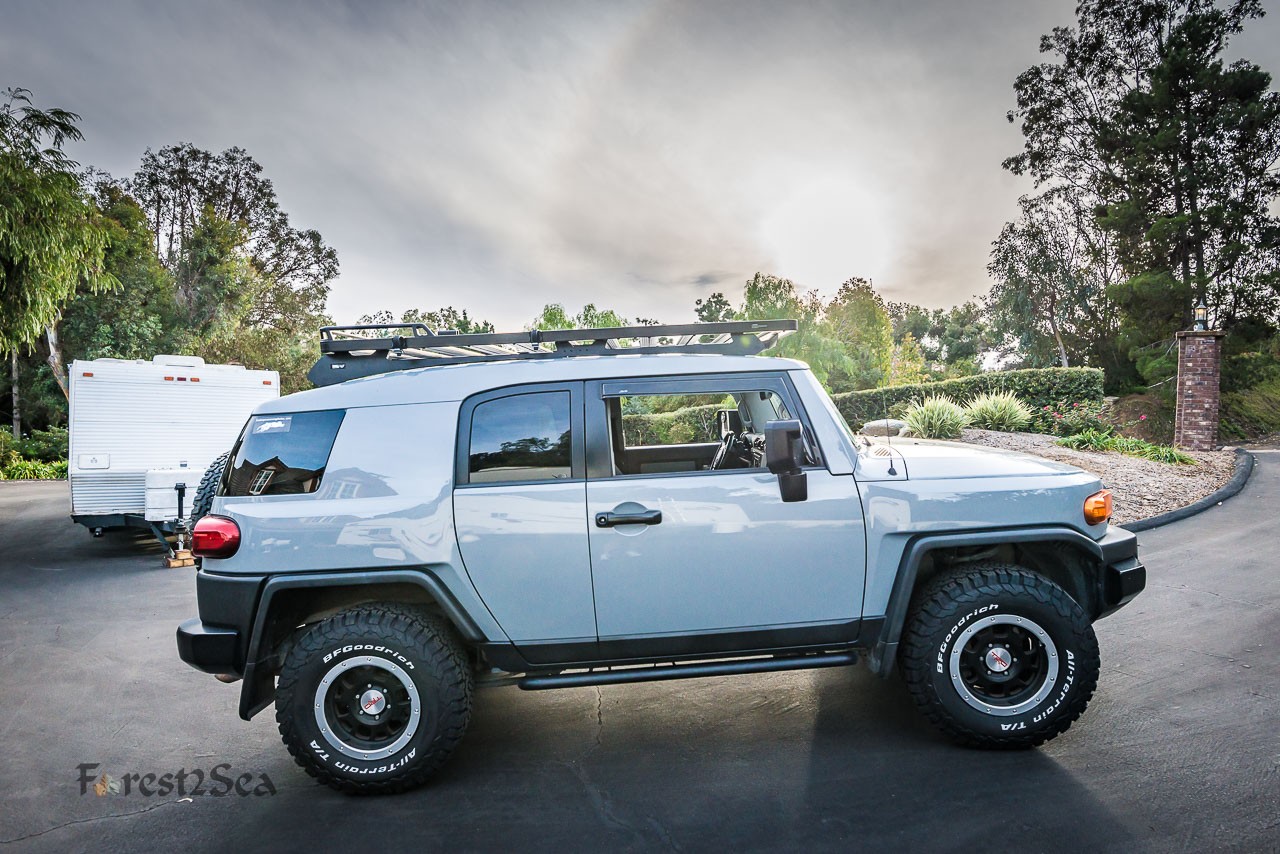
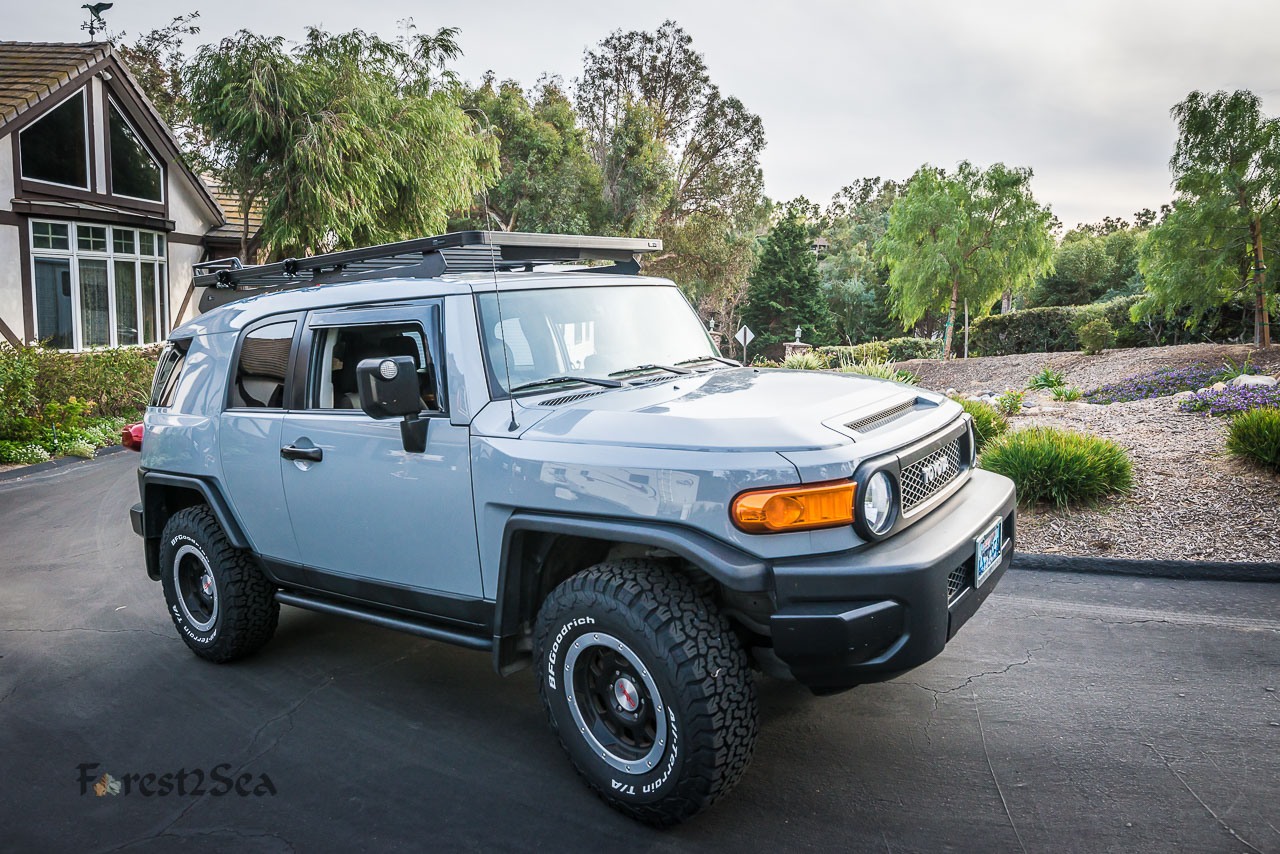
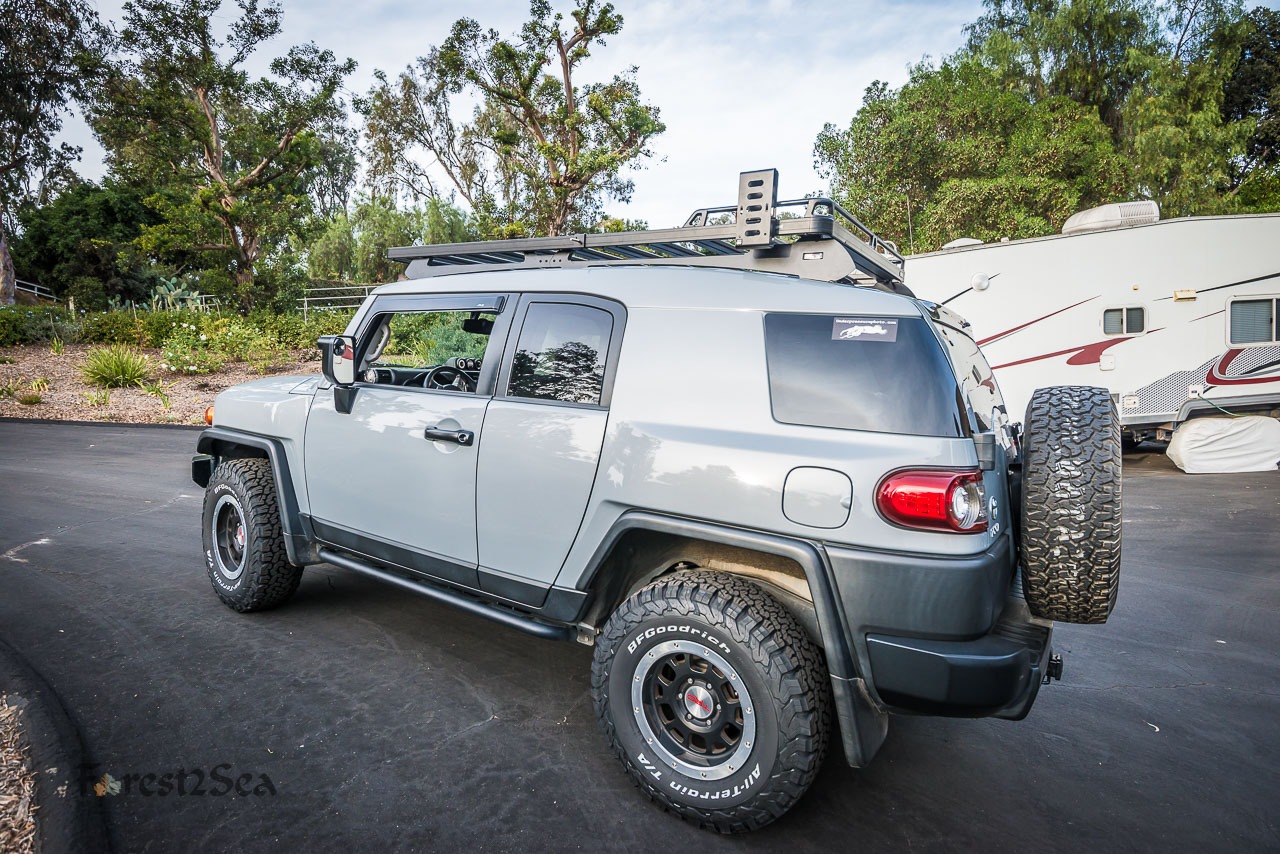
A new roof rack is integral to making room inside our FJ Cruiser. It allows us to organize our gear better. We can move stuff to the outside, out of the way. Because of this, it was the first thing we purchased and installed. We picked the Front Runner Slimline II Roof Rack because it is low profile, modular and sturdy. Front Runner sells a ton of accessories for mounting everything you could possibly want to attach to your roof. We wanted an integrated solution rather than relying on generic mounts that may or may not be secure or fit properly.
Prepping the Roof Rack
With the roof rack still on the ground, my dad and I spent some time trying to get the corner pieces to fit. After the roof rails were installed the previous week, my dad filed down one of the corner pieces to make it a little smaller. We used a rubber mallet to try to square the roof rack – but uh oh, it still didn’t fit. We decided it wasn’t a deal-breaker at that point in time and that we would wait until the roof rack was bolted onto the rails to figure out how to make it fit.
After temporarily giving up on the corner pieces, we tightened down the cross beams. They’re the core of the roof rack and provide a lot of its strength. The heaviest items will be mounted to them.
Next, we installed the wind screen (or bug collector), with the rack bottom side up. The screen sits directly underneath the front facing end of the roof rack and keeps some of the air flow from going between the roof rack and the FJ’s roof. The wind screen helps with aerodynamics and reduces some of the wind noise.

Flipping the roof rack before installation
Finally, we set the mounting bolts into the roof rack cross beams. The roof rack doesn’t mount onto the rails along the outside edge of the rack. The cross beams actually bolt directly into the side rails. When you flip the roof rack over to install, it needs to be end-over-end so that the mounting bolts don’t all slide across to one side.
Roof Rack Install or How Many McGee’s Does It Take?

Four of us (CrtrGrl, both of my parents and myself) lifted the rack up on to the roof of Greyjoy. Extra hands definitely made it easier, even though it’s not that heavy! Step ladders on each side of the FJ also made the job easier.
The next challenge was getting the bolts to line up with the rail mount points. Because the mounting bolts were able to slide along the cross beams, it was a bit of a puzzle to get all of the mount points lined up with the bolts. Watch those fingers when it drops down into the holes! Once the bolts were in the holes, we had to take measurements to make sure the rack was evenly centered on both sides. After that, we tightened the nuts that secure the rack to the side rails.
Roof Rack Accessories
Before installing the four corner pieces, you have to think through what accessories you want to mount on the side rails. For most mounts, you’ll need a locking nut in the top groove of the side rail. Some parts will prevent you from sliding the nut along the rail to the position you want to mount it, like the expedition rails. So planning ahead can pay off in less unbolting/re-bolting to get them where you need them. Ahead of time, I actually drew a cartoon map of what was going to mount where.
With the roof rack bolted down to the side rails, it was time to install some accessory mounts. We opted to put the Front Runner Axe Mount and Shovel Mount on each side of the roof back, near the back. Both were relatively easy to mount. However, unless you already have the shovel and axe you plan to use, you may have to guess and then adjust later like we did. The most important thing is to figure out where the mount should go relative to other components mounted on the roof rack.
Challenge with the Front Runner Roof Rack
We ran into one main challenge with the Front Runner Slimline II Roof Rack. In our last blog, we had trouble getting the four corners to fit together properly when it was on the ground. My dad filed down one of the corners to make it smaller. This got it close, but it still didn’t quite fit.
Once we mounted the rack on the side rails, we still couldn’t get the bolt into the hole on all four corners. I don’t know if this is a common problem or not. My dad got out his Dremel and filed down the same corner some more. By the time it fit, the edges didn’t look quite as pretty as the other three, but we were able to fit the bolt in. From the outside, you can’t tell what we had to do to make it fit. I’m not sure if this is a design flaw or just small tolerance for not being perfectly square. We tried the alternatives of adjusting the angles, but had to resort to cutting metal.
What’s Next?
In Part 3, we’ll install the biggest item on the roof rack.

